Difference between revisions of "How to Reverse Engineer with Split Bend"
(→How to Reverse Engineer Using Split Bend) |
(→How to Reverse Engineer Using Split Bend) |
||
| Line 31: | Line 31: | ||
Since the Split Bend feature creates a grid based on the number of straights in the MASTER data, it is important to set the number of points that you will be measuring in the reversed tube.<br><br> | Since the Split Bend feature creates a grid based on the number of straights in the MASTER data, it is important to set the number of points that you will be measuring in the reversed tube.<br><br> | ||
Enter the MASTER TUBE menu, set the point count (which is two more than bend count), and press the SET button. The XYZ values will be filled with zeros like this:<br><br> | Enter the MASTER TUBE menu, set the point count (which is two more than bend count), and press the SET button. The XYZ values will be filled with zeros like this:<br><br> | ||
| + | The radius values were automatically filled with the DEFAULT RADIUS value from the PART SETUP menu. | ||
</td> | </td> | ||
<td width=400 > | <td width=400 > | ||
Revision as of 00:32, 4 February 2016
|
Contents |
About Split Bends
|
The Split Bend feature allows you to accurately measure bends that equal or exceed 180 degrees. |
How to Reverse Engineer Using Split Bend
|
Since the Split Bend feature creates a grid based on the number of straights in the MASTER data, it is important to set the number of points that you will be measuring in the reversed tube. |
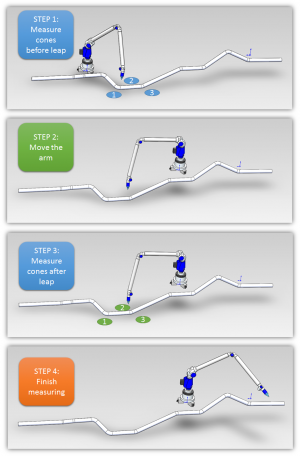
The Steps for Leapfrog
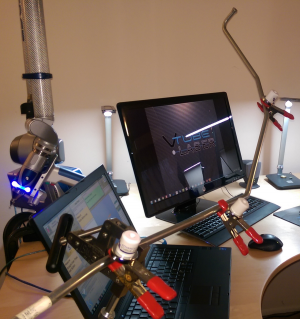
Move the Tube During Measure
Other Pages
- Back to VTube-LASER
- See also Calibration-Leapfrog-Move Targets
- Purchase the targets at the store.
