Difference between revisions of "How to Create Mirror Image Part"
(→How to Create a Mirror Image Part) |
(→How to Create a Mirror Image Part) |
||
| Line 19: | Line 19: | ||
<td width=500 > | <td width=500 > | ||
To create a mirror image part, VTube lets you perform an Additive Invert on any column of XYZ values. This means that VTube can multiply an entire column of XYZ values negative one.<br><br> | To create a mirror image part, VTube lets you perform an Additive Invert on any column of XYZ values. This means that VTube can multiply an entire column of XYZ values negative one.<br><br> | ||
| − | Any time | + | Any time the Additive Invert feature is applied an odd number of times (1, 3, 5, etc.), the part will be mirror image to the original. Any time this feature is applied an even number of times (2, 4, 6, etc.), the part will be the same shape, but with a different orientation in space. |
</td> | </td> | ||
<td> | <td> | ||
Revision as of 01:58, 4 February 2016
|
How to Create a Mirror Image Part
|
To create a mirror image part, VTube lets you perform an Additive Invert on any column of XYZ values. This means that VTube can multiply an entire column of XYZ values negative one. |
STEP 1: Enter PART SETUP Data
|
Enter the Part Setup data for the new part. Especially enter the PART NUMBER and DEFAULT RADIUS. (You can measure the radius if necessary in Measure Process.) |
STEP 2: Populate the MASTER TUBE DATA Grid
|
Since the Split Bend feature creates a grid based on the number of straights in the MASTER data, it is important to set the number of points that you will be measuring in the reversed tube. |
STEP 3: Configure the Split Bend Window
|
The Split Bend window is on the Bend Setup tab in the MASTER TUBE menu. Click into that window. |
|
|
In the Split Bend window, set any straight that will be treated as a Split Bend. |
STEP 4: Measure The Part
|
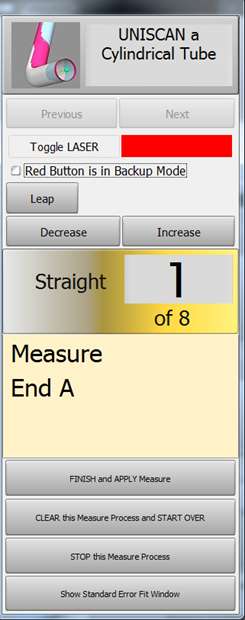
This step is identical to regular reverse-engineering measuring. |
STEP 5: Choose Build Measured Tube Data Only
|
Because the MASTER data row count is greater than zero, the Measurement Complete window will offer to allow you to ALIGN the measured tube. |
|
|
The new measured tube will appear as a blue tube like this. |
STEP 6: Copy Measured to Master
|
Copy Measured to Master Data in the Data Handling menu. This will overwrite the MASTER data ZEROS with the MEASURED tube data. |
STEP 7: Optional Reset Origin to Zero
|
Some customers prefer to translate the new MASTER data so that the first point is at 0,0,0. |
STEP 8: View the New Master Tube
|
View the new MASTER tube by switching the display of the Master tube on, then redrawing and zooming all. |
STEP 9: Optional Alignment Test
|
This is a cross-check to be sure the process was performed properly. Enter the Inspection Results menu, and press Recalculate for the alignment. |
STEP 10: Save the VTube Project
|
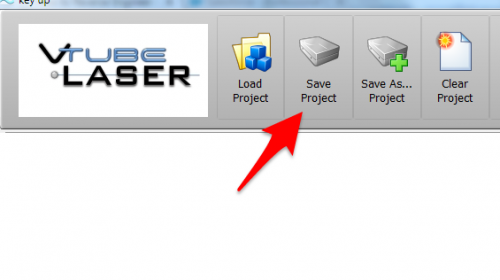
Press the Project Save button in the Toolbar, choose the project save path and filename, and save the VTube Project file. |
Other Pages
- Back to VTube-LASER
- See also Calibration-Leapfrog-Move Targets
- Purchase the targets at the store.


