Difference between revisions of "VTube-LASER Split Bend Feature"
(→STEP 6: Choose Build Measured Tube Data Only) |
(→STEP 7: Copy Measured to Master) |
||
| Line 108: | Line 108: | ||
<br><br> | <br><br> | ||
| − | |||
| − | |||
| − | |||
| − | |||
| − | |||
| − | |||
| − | |||
| − | |||
| − | |||
| − | |||
| − | |||
| − | |||
| − | |||
==STEP 8: Optional Reset Origin to Zero== | ==STEP 8: Optional Reset Origin to Zero== | ||
Revision as of 17:34, 1 May 2017
|
About The Split Bend Feature
|
The Split Bend feature is VTube-LASER's unique method of measuring tubes with 180-degree bends or greater with accuracy.
|
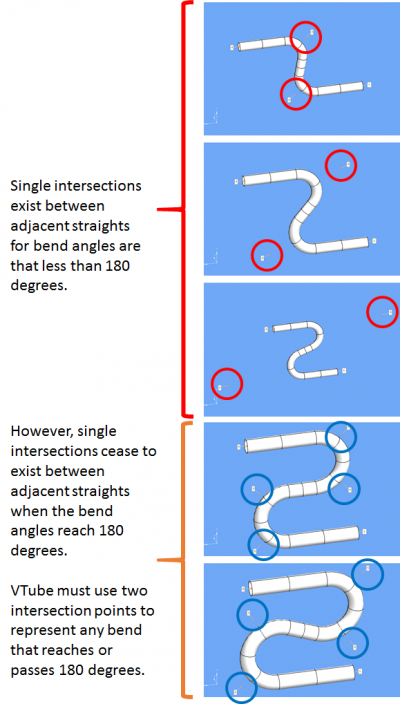
Why Is Split Bend Necessary?
|
We invented Split Bend to solve a legacy measuring issue in the tube fabrication.
|
Configuring for Split Bend
|
Split Bend setup is controlled in the Bend Setup tab of the Master Tube menu in VTube-LASER, and in the Bend Setup tab in VTube-STEP. Both modes of VTube allow you to configure Split Bends. |
|
|
In the Split Bend window, set any straight that will be treated as a Split Bend. |
Split Bend LRA Compression
|
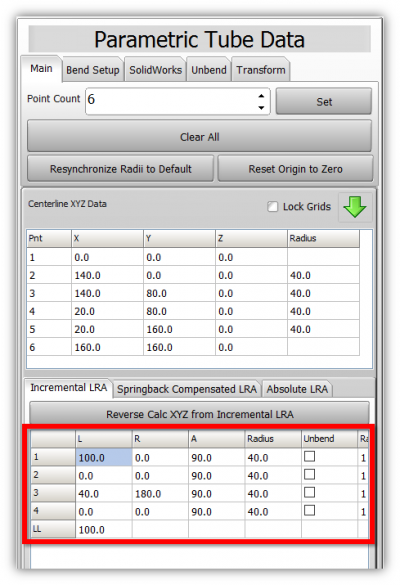
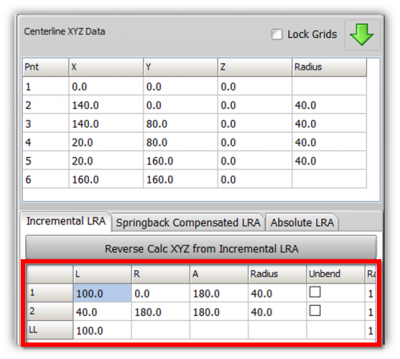
VTube-LASER knows that benders still like to refer to the 180-degree bends as a SINGLE bend. |
|
|
For this tube, we turn the Split Bend ON for straights 2 and 4, and the LRA data automatically compresses. |
Split Bend Measuring
|
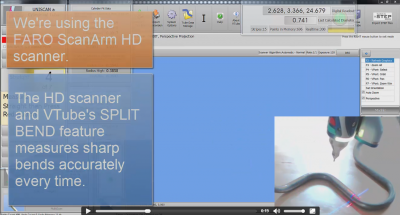
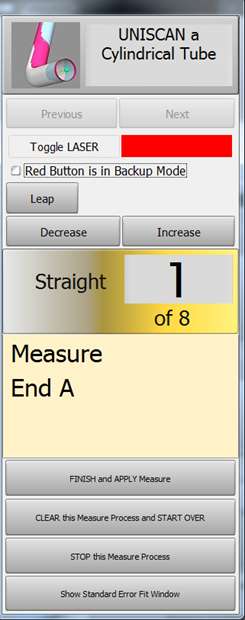
During tube measurement, when you arrive at the split bend to scan, VTube-LASER will make a special sound and tell you to scan the OUTSIDE of the bend. Scan as much data as you want - up to 250 stripes. The goal is to be sure that at least one point in one of the stripes touches the highest point of the outside of the bend. So you can take as many stripes of data as you want - VTube will take them all in without a problem. |
STEP 8: Optional Reset Origin to Zero
|
Some customers prefer to translate the new MASTER data so that the first point is at 0,0,0. |
STEP 9: View the New Master Tube
|
View the new MASTER tube by switching the display of the Master tube on, then redrawing and zooming all. |
STEP 10: Optional Alignment Test
|
This is a cross-check to be sure the process was performed properly. Enter the Inspection Results menu, and press Recalculate for the alignment. |
STEP 11: Save the VTube Project
|
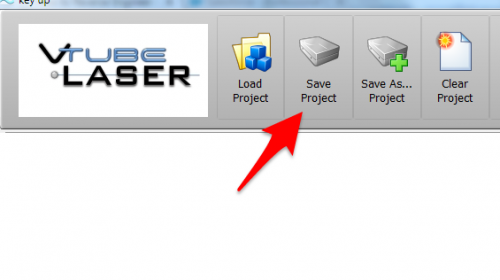
Press the Project Save button in the Toolbar, choose the project save path and filename, and save the VTube Project file. |
Other Pages
- Back to VTube-LASER
- See also Calibration-Leapfrog-Move Targets
- Purchase the targets at the store.
