Difference between revisions of "VTube End Length Offsets"
From ATTWiki
(→Entering Length Offsets in the Part Setup Menu) |
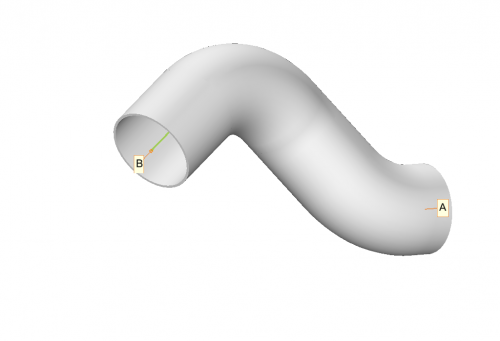
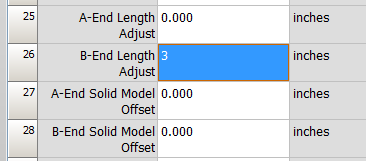
(→How End LENGTH Offsets Work in VTube) |
||
| Line 52: | Line 52: | ||
<td width=300> | <td width=300> | ||
[[image:vtube-offsetdemo_offset_b_end_3inches_model2.png|500px]] | [[image:vtube-offsetdemo_offset_b_end_3inches_model2.png|500px]] | ||
| + | </td> | ||
| + | </tr> | ||
| + | |||
| + | |||
| + | <tr valign=top> | ||
| + | <td width=300> | ||
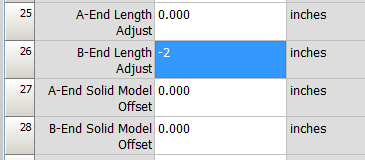
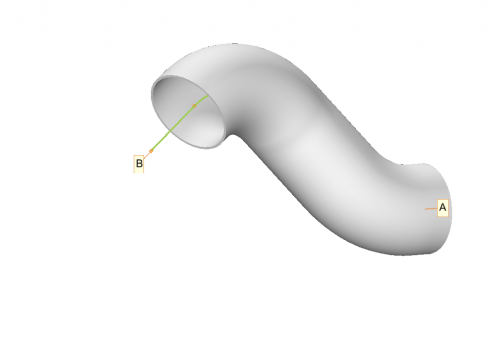
| + | ====Entering a Negative Length Offset in the Part Setup Menu==== | ||
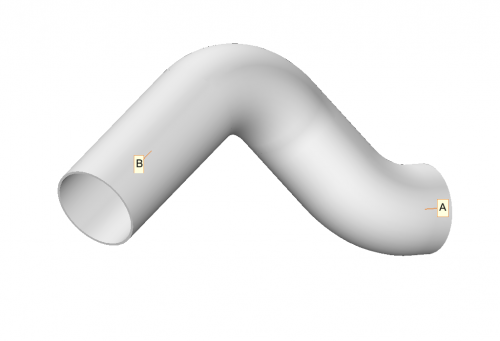
| + | We can also subtract material from an end by using a negative value like this:<br><br> | ||
| + | [[image:vtube-offsetdemo_offset_b_end_minus2inches.png]]<br><br> | ||
| + | Then we press F2 to refresh the graphics, and B end material is made shorter without moving the end point. | ||
| + | </td> | ||
| + | <td width=300> | ||
| + | [[image:vtube-offsetdemo_offset_b_end_3inches_model3.png|500px]] | ||
</td> | </td> | ||
</tr> | </tr> | ||
Revision as of 02:10, 24 April 2014
|
Contents |
How End LENGTH Offsets Work in VTube
Other Pages
- Back to VTube-LASER


