Difference between revisions of "FARO CAM2"
(→Importing to CAM2) |
(→Export as Parametric Tubes) |
||
| Line 29: | Line 29: | ||
The workflow process is to scan a tube with VTube, then continue with measuring components around the tube in CAM2. The method is to leave the tube in the same location when measuring in the two programs. The correct position in space is transferred into CAM2 Measure 10 as long as the tube is not moved. | The workflow process is to scan a tube with VTube, then continue with measuring components around the tube in CAM2. The method is to leave the tube in the same location when measuring in the two programs. The correct position in space is transferred into CAM2 Measure 10 as long as the tube is not moved. | ||
| − | |||
| − | |||
| − | |||
| − | |||
| − | |||
| − | |||
| − | |||
| − | |||
| − | |||
| − | |||
| Line 44: | Line 34: | ||
<tr cellpadding=10> | <tr cellpadding=10> | ||
<td width=300 VALIGN="top"> | <td width=300 VALIGN="top"> | ||
| + | |||
=== Export as Parametric Tubes === | === Export as Parametric Tubes === | ||
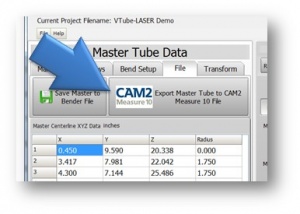
[[VTube-LASER]] exports CAM2 Measure 10 parametric tube files for measuring brackets and components around the tube. Both the MASTER and the MEASURED tube shapes can be exported in the FILE tab sub-menus for each tube centerline.<br><br> | [[VTube-LASER]] exports CAM2 Measure 10 parametric tube files for measuring brackets and components around the tube. Both the MASTER and the MEASURED tube shapes can be exported in the FILE tab sub-menus for each tube centerline.<br><br> | ||
Revision as of 19:24, 12 January 2013
|
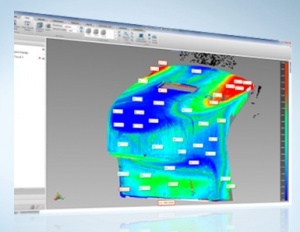
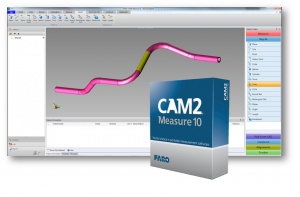
FARO CAM2 software for measuring prismatic shapes. It is used by tube fabrication customers on FARO arms along with VTube-LASER to measure components around tube shapes. |
Contents |
CAM2 Measure 10 and VTube-LASER Working Together
Measure Tubes with VTube then Export to CAM2 FilesSince year 2010, FARO has started selling VTube-LASER as a quicker method of tube measuring. (FARO is the exclusive distributor for VTube-LASER in North and South America.) General Workflow for VTube to CAM2The workflow process is to scan a tube with VTube, then continue with measuring components around the tube in CAM2. The method is to leave the tube in the same location when measuring in the two programs. The correct position in space is transferred into CAM2 Measure 10 as long as the tube is not moved.
Benefits of Using VTube-LASER
|
