Difference between revisions of "VTube Communication for BLM VGP3D"
(→BEND the Corrected Part) |
(→BEND the Corrected Part) |
||
| Line 218: | Line 218: | ||
* The XYZc data will be updated. Run the simulator with the new data.<br><br> | * The XYZc data will be updated. Run the simulator with the new data.<br><br> | ||
* Bend the corrected part.<br><br> | * Bend the corrected part.<br><br> | ||
| − | |||
* In the VGP3D software, press the measuring center icon again to be ready for communications from VTube-LASER in case another correction is needed.<br><br> | * In the VGP3D software, press the measuring center icon again to be ready for communications from VTube-LASER in case another correction is needed.<br><br> | ||
* Take the part back to VTube-LASER to measure it again for qualification. (Repeat the process from [[#Measure the tube with VTube-LASER|"Bend the Part on the BLM then Open Measuring Center Communications in VGP3D"]] above.) | * Take the part back to VTube-LASER to measure it again for qualification. (Repeat the process from [[#Measure the tube with VTube-LASER|"Bend the Part on the BLM then Open Measuring Center Communications in VGP3D"]] above.) | ||
Revision as of 14:36, 14 July 2022
About this Page
|
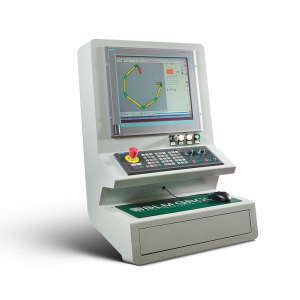
This page describes the setup and use of the recommended BLM communications protocol for VTube. |
PROTOCOL 1: BLM SVNET PROTOCOL (SW0453)
|
|
Setup the BLM SVNET Protocol in VTube-LASER
Entering VTube-LASER Benderlink Setup
|
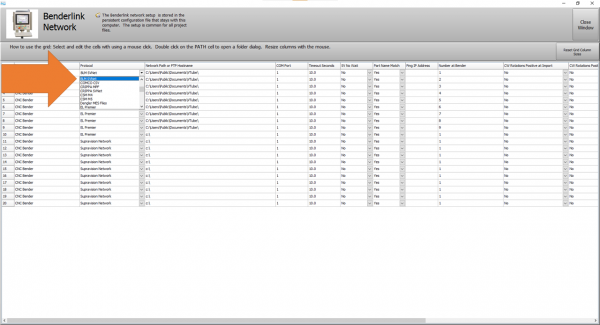
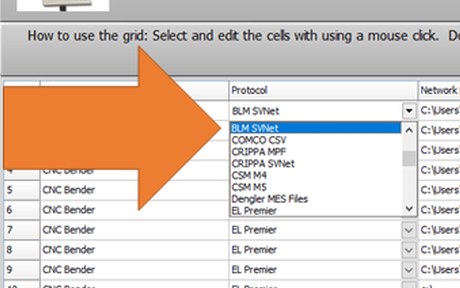
Setup the Benderlink Network Grid for the BLM SVNET Protocol
|
How to SEND a CORRECTION to the BLM Control from VTube-LASER
Bend the Part on the BLM then Open Measuring Center Communications in VGP3DClick on the measuring center image to the right of the part number.
|
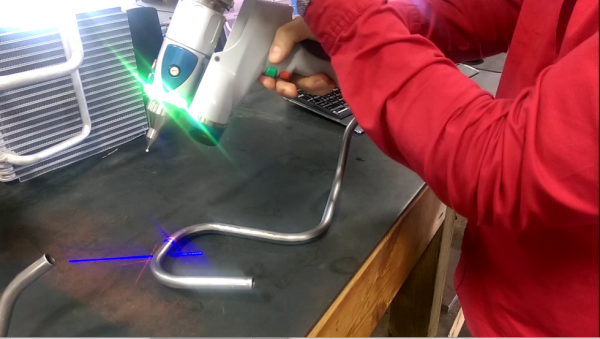
Measure the tube with VTube-LASERMeasure and align the tube to determine if it qualifies by falling within the envelope tolerance for the tube shape.
|
Correct the BLM with VTube-LASER - Enter BENDER SETUP
|
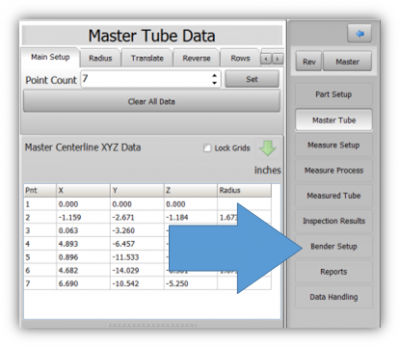
Follow these steps in the VTube-LASER: Press the "BENDER SETUP button in the Navigation Pane. |
INITIAL RECALL Setup of Bender Setup Window
|
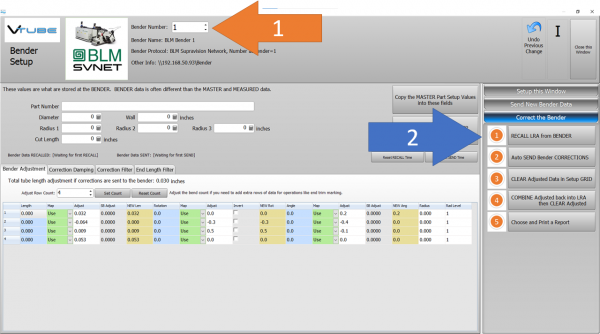
These steps assume that you have programmed a part into the bender and that you have measured and aligned a part. STEP 1 - Set the correct bender number at the top of the window. The BLM SVNET bender icon should display if you have already set up the bender protocol in the Benderlink grid.
|
RECALL Warning Boxes
|
VTube-LASER will probably warn you that the incoming data count and part number does not match what is in VTube-LASER.
|
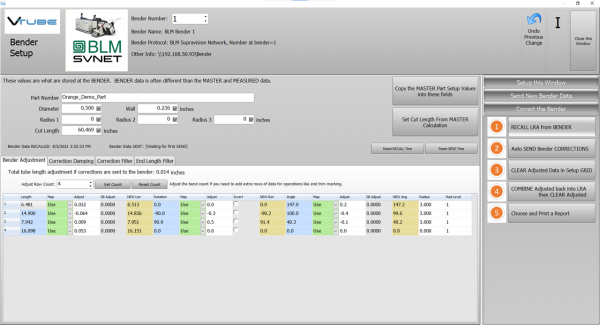
THE BLUE COLUMNS SHOULD MATCH THE BLM XYZc DATA AFTER THE RECALL
|
After the RECALL, the blue columns should show the data that is programmed in the BLM control. |
SEND THE CORRECTIONS TO THE BLM FILE
|
SAVE the Correction data to the file for the BLM by pressing AUTO SEND BENDER CORRECTIONS.
|
AT THE BLM, Close the Communications Window
|
If you sent the correction data (the orange columns of data) from VTube-LASER to the BLM, then you can close the BLM communications window at the BLM and then check the new XYZc bender values. Be sure that they match the data in the orange cells in VTube. |
BEND the Corrected Part
|
|
IMPORTANT RULES for CORRECTIONS LOOPS
|
Other Pages
- See also VTube Communication for BLM VGP3D - Alternative Protocols
- See VTube-LASER
- See VGP3D
- See BLM for information about BLM Group


