Ball Probe Setup
From ATTWiki
|
About the Default Ball Probe Setup
The default ball probe setup is always controlled by the FARO dialogs. These are windows that can be loaded from VTube-LASER while it is connected to the arm. To change the default ball probe, you will need to access the FARO dialog and choose the correct probe.
You must be connected to a FARO arm to perform these steps.
STEP 1In VTube-LASER click on the Arm Utilities button in the Arm tab inside the Measure Setup menu. |
|
STEP 2Change the values in VTube to whatever you want them be when you perform a clear. Be sure that no tube data exits in this state, or VTube will clear the data to preset values with a tube. (Of course, you can do this, if you really meant to.) |
|
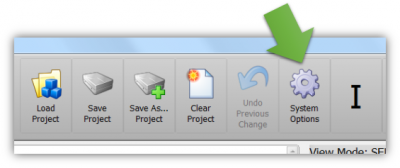
STEP 3Press the System Options button. |
|
STEP 4Press the Project Setup tab, and then press the Set Project Default State button. |
|
STEP 5Exit the System Options menu. VTube will now clear to the new settings. |
Other Pages
- Back to the VTube-STEP page
- Back to the VTube-LASER page


