VTube-LASER v1.58
Revision 1.58Back to VTube-LASER |
 NEW: Construct Tube in 3D Space
 ENHANCED: Measure Tube Control - Decrease / Increase Button
|
Operators can now increase or decrease the number of straights to measure in the tube on-the-fly if necessary. The new Decrease/Increase buttons are inserted on the control.
|
 NEW: Show SCANNED or CALCULATED Graphic Data Any Time
|
VTube now allows operators to show or hide the orange scanned points or the large orange calculated end and intersection points at any time. |
 NEW: Auto Display SCANNED and CALCULATED
|
The Draw Options feature is new to Measure Setup. You can select these two options if you want the SCANNED or the CALCULATED data to display or not during measurement. If both features are unchecked, then the tube measurement shows now realtime graphics data during measurement - like other measurement software. |
 ENHANCED: Highlighted Cylinder Fit Box During High Error
|
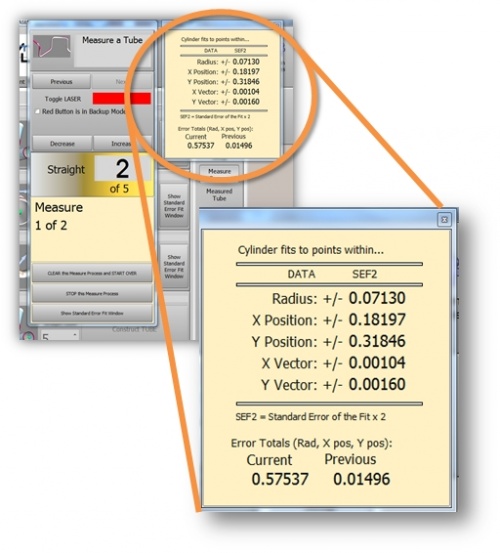
The cylinder fit box highlights to YELLOW when it encounters a measurement in the tube that is outside the preprogrammed tolerance for cylinder fit. |
 NEW: Part Name in Toolbar
|
The current part name is now displayed in the toolbar below the VTube-LASER logo. |
 NEW- Springback Values Transfer from Overbend
|
VTube-LASER can now receive springback data from Overbend with the press of a single button in the Overbend Calculator. |
 ENHANCED - Other Changes
|
Other Pages
- Back to VTube-LASER


