Copy a default VTube configuration to another computer with VTube
|
What Is This Feature For?
Reason: Standardization Across All Installations
This feature is helpful for customers that have multiple installations of VTube-LASER or VTube-STEP, and they want to standardize the default configuration for every VTube in the organization.
Reason: Including VTube-LASER Default Values in a VTube-STEP Project Save
This is also useful for when you use VTube-STEP to create files that will be used in VTube-LASER on the factory floor. The challenge in this situation is that VTube-LASER has hundreds of setup variables that VTube-STEP does not have in its user interface. So, how do you configure VTube-STEP so that it saves project files with the correct defaults for VTube-LASER? The answer is to set up the defaults in one of the VTube-LASER computers, then export the setup for import into VTube-STEP on other computers. If you do this, then VTube-STEP will take in and store the VTube-LASER values as they were set up in the VTube-LASER computer. Then, when VTube-STEP saves a project file, it will already have the correct VTube-LASER defaults included in the file to be shared with VTube-LASER.
For VTube Version 3 Build 357 - November 19, 2020
These instructions are for VTube-LASER or VTube-STEP version 3 build 357 or newer only. It was released on November 19th, 2020.
See the Advanced Tubular support site for upgrades.
Warning About Version Compatibility
Follow These Steps at the SOURCE VTube Computer
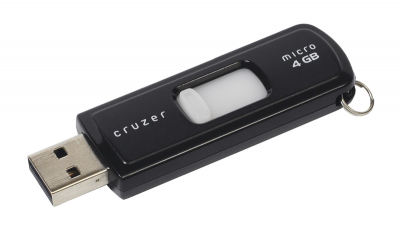
STEP 1 - Insert a Flash DriveIf you want to use a flash drive to transfer the configuration from the SOURCE computer, then insert it into the appropriate port on the SOURCE computer now. |
|
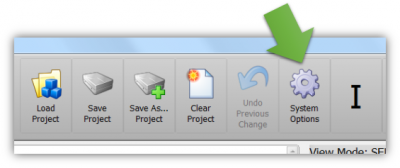
STEP 2 - System OptionsPress the System Options button in the SOURCE computer. (The source computer contains the configuration you want to use on other VTube computers.) |
|
STEP 3 - Press "Export the VTube Configuration"Press the Project Setup tab, and then press the Export VTube Configuration button. |
|
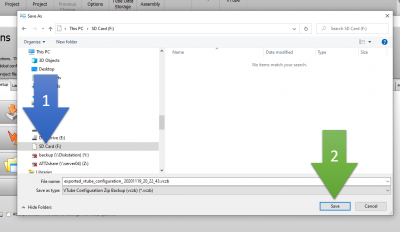
STEP 4 - Choose a Location for SaveChoose the location for the exported configuration file and press Save. |
|
STEP 5 - VTube Compresses and Stores to a Single FileVTube will export the configuration files to the one compressed file. | |
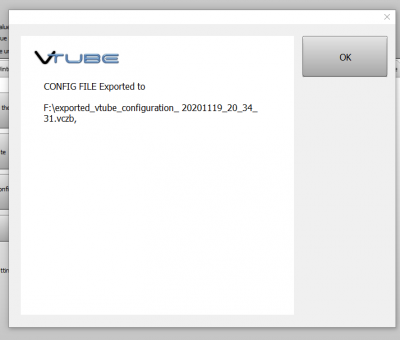
STEP 6 - VTube shows a dialogVTube will show a dialog when it is finished. | |
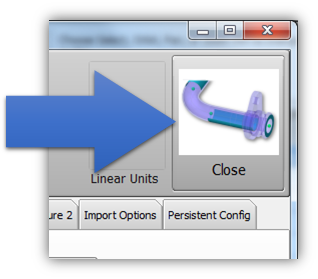
STEP 7 - Exit System OptionsExit the System Options menu. |
|
STEP 8 - Remove the Flash DriveIf you used a flash drive, then remove it from the SOURCE computer now. |
Follow These Steps at the TARGET VTube Computer
STEP 1 - Insert the Flash DriveIf you used a flash drive to store the configuration from the SOURCE computer, then insert it into the appropriate port on the TARGET computer now. |
|
STEP 2 - Save the Project and Press Clear ProjectSave your current project (if any) at the TARGET VTube computer. Clear the project by pressing the Clear Project button. |
|
STEP 3 - Enter System OptionsPress the System Options button in the TARGET computer. |
|
STEP 4 - Press the Import VTube Configuration buttonPress the Project Setup tab, and then press the Import VTube Configuration button. |
|
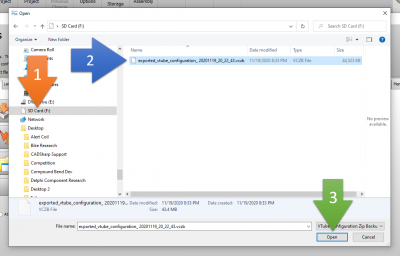
STEP 5 - Explore to the Exported Configuration Backup FileFind the exported configuration file, select it, and press Open. |
|
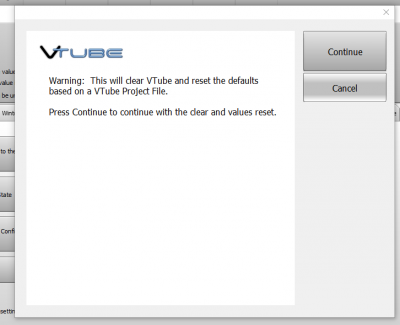
STEP 6 - VTube will Warn YouVTube will warn you with a dialog that the default configurations will be reset in this TARGET computer based on the values from the SOURCE computer if you continue. | |
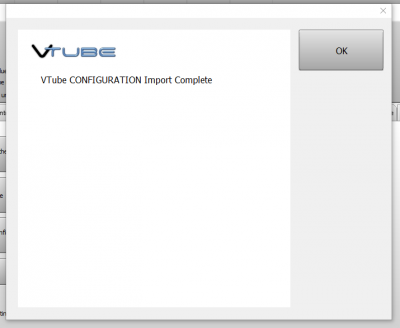
STEP 7 - VTube will show completeVTube will show a dialog when it is finished importing the configuration. | |
STEP 8 - VTube will close System Options AutomaticallyAfter you press OK, VTube will automatically exit the System Options menu. |
|
STEP 9 - Remove the Flash DriveIf you used a flash drive, then you can remove it from the TARGET computer now. |
Other Pages
- Back to the VTube-STEP page
- Back to the VTube-LASER page

