|
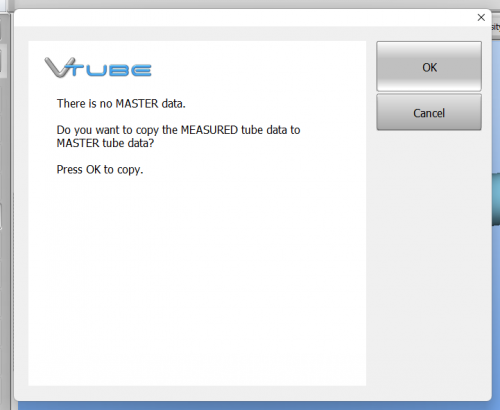
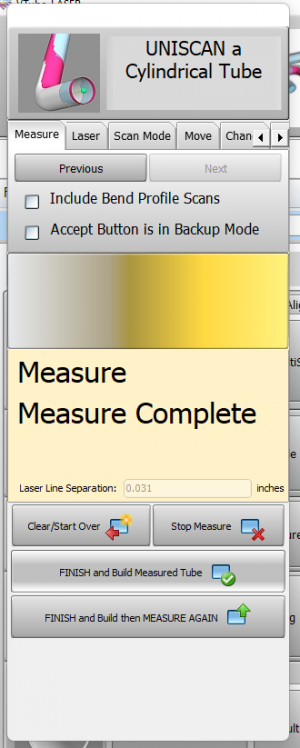
FINISH and Build Measured Tube and press okay when the next popup screen appears. This is asking users to verify they want to make the tube they just measured the new MASTER tube going forward.
STEP 7: Copy Measured to Master
|
Copy Measured to Master Data in the Data Handling menu. This will overwrite the MASTER data ZEROS with the MEASURED tube data.
When you press this button, the MEASURED data will be copied to the MASTER data menu and the MASTER data menu will display automatically.
|

|
STEP 8: Optional Reset Origin to Zero
|
Some customers prefer to translate the new MASTER data so that the first point is at 0,0,0.
|

|
STEP 9: View the New Master Tube
|
View the new MASTER tube by switching the display of the Master tube on, then redrawing and zooming all.
In this case, the MASTER tube is translated in space from the measured tube because the coordinates were zeroed in the previous step.
|

|
STEP 10: Optional Alignment Test
|
This is a cross-check to be sure the process was performed properly. Enter the Inspection Results menu, and press Recalculate for the alignment.
Since VTube is aligning a part to itself, the deviations should be exactly zero.
|

|
STEP 11: Save the VTube Project
|
Press the Project Save button in the Toolbar, choose the project save path and filename, and save the VTube Project file.
|

|
Other Pages
|
