Difference between revisions of "How to Reverse Engineer with Split Bend"
(→STEP 5: Measure The Part) |
(→STEP 5: Measure The Part) |
||
| Line 115: | Line 115: | ||
</td> | </td> | ||
<td width=400 > | <td width=400 > | ||
| − | [[image:vtube-laser-v4_measureguide_cylindricaltube.png| | + | [[image:vtube-laser-v4_measureguide_cylindricaltube.png|100px]]<br>]<br> |
</td> | </td> | ||
</tr> | </tr> | ||
Revision as of 18:48, 16 December 2022
|
How to Reverse Engineer a Part Using Split Bend
|
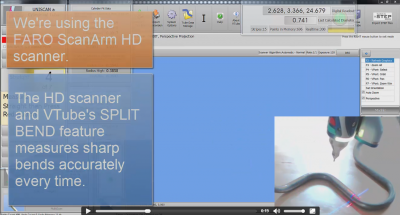
The Split Bend feature allows you to accurately measure bends that equal or exceed 180 degrees. |
STEP 1: Enter PART SETUP Data
|
Enter the Part Setup data for the new part. Especially enter the PART NUMBER and DEFAULT RADIUS. (You can measure the radius if necessary in Measure Process.) |
STEP 2: Populate the MASTER TUBE DATA Grid
|
Since the Split Bend feature creates a grid based on the number of straights in the MASTER data, it is important to set the number of points that you will be measuring in the reversed tube. |
STEP 3: Configure the Split Bend Window
|
The Split Bend window is on the Bend Setup tab in the MASTER TUBE menu. Click into that window. |
|
|
In the Split Bend window, set any straight that will be treated as a Split Bend. |
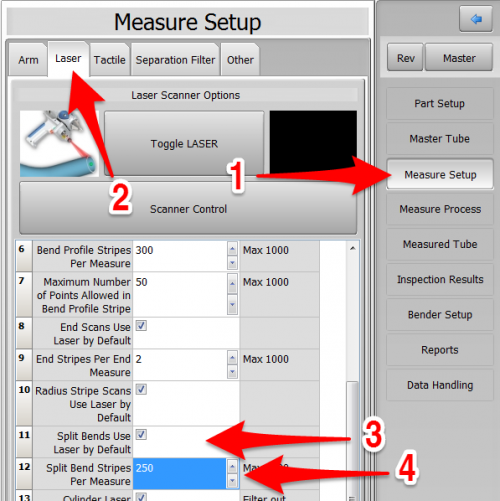
STEP 4: Configure the Measure Setup
|
Configure Measure Setup like this:
|
|
|
Continue with the Measure Setup in the Separation Filter menu
|
STEP 5: Measure The Part
|
This step is identical to regular reverse-engineering measuring. |
STEP 6: Choose Build Measured Tube Data Only
|
FINISH and Build Measured Tube and press okay when the next popup screen appears. This is asking users to verify they want to make the tube they just measured the new MASTER tube going forward. STEP 7: Copy Measured to Master
STEP 8: Optional Reset Origin to Zero
STEP 9: View the New Master Tube
STEP 10: Optional Alignment Test
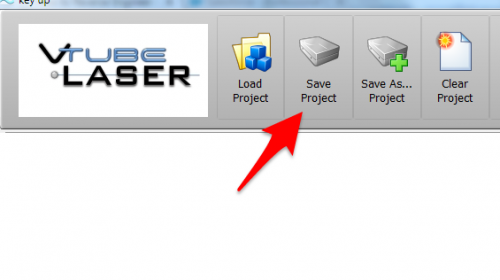
STEP 11: Save the VTube Project
Other Pages
|


